
This week I took the time to re-learn the structure of my project and go over some of the notes I had taken during that time period for the lighting class I was taking when I made this image.
My first instinct when opening my scene file in Maya was to hit render. Though I know what the last image I turned into my professor looked like, I knew it didn't necessarily mean that I had left the settings the same as those of that final render. In fact in all likelihood I had probably attempted to play with one or two settings before setting down the project for good, and I thought, rendering now would also help me see if there were any broken shading connections that I needed to look at, or problems (read: corruptions) in my scene file.
 |
| Screenshot of my scene file upon opening it. |
To cut back on render time (batch rendering the image seemed to be taking more than just a minute) I did a quick render of the current frame, unfortunately I wasn't able to change the image size to help save on render time, since in this case the image size corresponded to the dimensions of the background image of the cafe that I imported into Maya. Below is the image I got.

Right away I could see that though the image and objects in my scene file were still aligned properly two of my objects were coming out black, the coffee cup and flower I had modeled in Maya. At first I assumed that I had left both the cup and my flower with a "black hole" texture so as to block them out and make cut outs that wouldn't affect the shadow/diffuse/specular of other objects on my separate layers.
However this turned out not to be the case, for some reason the materials I had on the objects themselves were simply coming out black despite the settings for each material in the attribute editor having color and etc. Whatever the real problem was it was likely just a glitch in Maya and after trying to fiddle with the materials themselves (and then going into Maya's preferences folder under program files and deleting the user preferences file) I decided it would just be better to re-create the materials with the same settings.

The above image is a cropped screenshot of my IPR render window which shows a close up of the cup and a bit of it's material which even after creating a new material and applying it to the object still remained black.
In the end I decided it would benefit me to take the time and re-model the simple objects I'd already created since it wouldn't be exactly hard. And to take the time to do some research on the new more "realistic" materials I would be using on my objects.
In particular I looked at references of White Lilies which had been the vague inspiration I used for the flower I had in my scene previously.


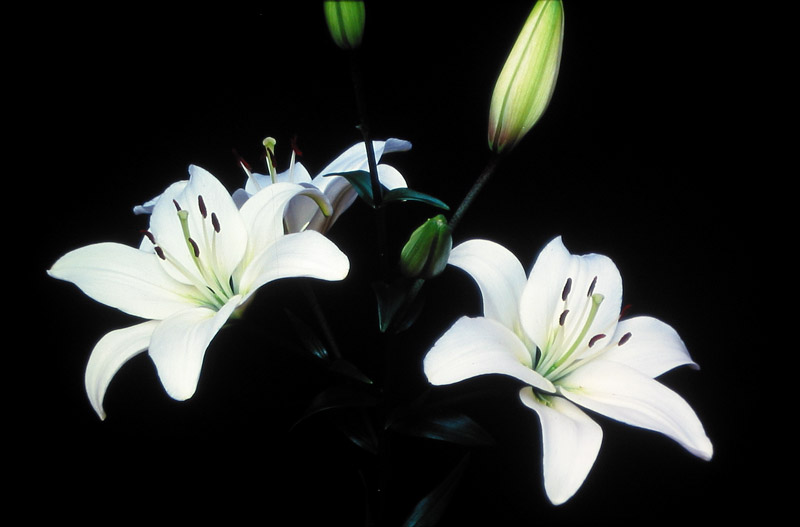

Of course the petals themselves would also be tricky because of their translucent quality which can be done with a sub-surface scattering material. I opted out of using sub-surface scattering because that technique would likely make my scene even more render heavy and I already wanted to down play how much time I was spending on rendering.
I still have to play with the materials for all objects but this week was mostly about re-familiarizing myself with my scene and making sure it worked. Next week I'll have more by way of progress so stay tuned!
-Shanna May
No comments:
Post a Comment